Turkey Gravy from Drippings: A Step-by-Step Guide
8/31/2026
General
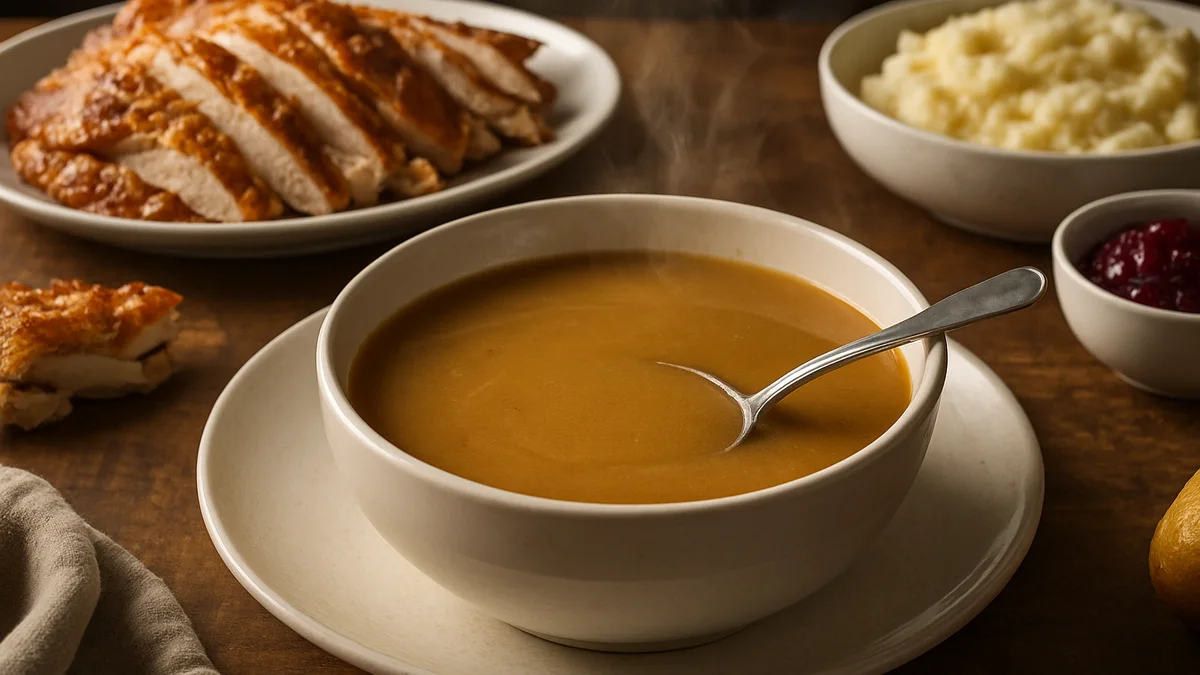
Table of Contents
- Understanding the Basics of Turkey Gravy
- Step-by-Step Guide to Making Turkey Gravy from Drippings
- Common Mistakes to Avoid
- Storage Tips for Leftover Gravy
- Frequently Asked Questions
- Conclusion
- Key Ingredients for Turkey Gravy
- Step 1: Collect the Drippings
- Step 2: Separate the Fat
- Step 3: Prepare the Roux
- Step 4: Add the Drippings and Broth
- Step 5: Season the Gravy
- Step 6: Serve the Gravy
- Can I make turkey gravy from drippings in advance?
- What if I don’t have enough drippings?
- Can I use flour alternatives for a gluten-free gravy?
Turkey Gravy from Drippings: A Step-by-Step Guide
Turkey gravy from drippings is a classic addition to any holiday meal, especially during Thanksgiving. This rich and flavorful sauce not only complements turkey but also enhances mashed potatoes and stuffing. Making gravy from drippings might seem daunting, but with a little guidance, you can master this culinary art. In this article, we will guide you through the process step by step, ensuring that your turkey gravy is both delicious and easy to prepare.
Understanding the Basics of Turkey Gravy
Before we dive into the cooking process, let’s understand what turkey gravy is. Gravy is essentially a sauce made from the juices that run from meat as it cooks. These juices, known as drippings, carry a lot of flavors and make for the perfect base for a savory gravy. When cooked properly, turkey gravy can be a rich and flavorful addition to your meal.
Key Ingredients for Turkey Gravy
To make turkey gravy from drippings, you will need the following ingredients:
- Turkey drippings: The flavorful juices collected from the roasted turkey.
- Fat: This can come from the drippings themselves or additional butter.
- Flour: Used to thicken the gravy.
- Broth or stock: Chicken or turkey broth enhances the flavor and adds volume.
- Seasonings: Salt, pepper, and optional herbs like thyme or sage.
Having these ingredients ready will make the process smoother and more enjoyable.
Step-by-Step Guide to Making Turkey Gravy from Drippings
Now that we’ve covered the basics, let’s get into the step-by-step process of making turkey gravy from drippings.
Step 1: Collect the Drippings
After roasting your turkey, it’s time to collect the drippings. Here’s how to do it:
- Remove the turkey from the roasting pan and place it on a cutting board to rest. This resting period allows the juices to redistribute in the meat.
- Carefully pour the drippings from the roasting pan into a measuring cup or bowl. Use a fine-mesh strainer if there are any large bits of meat or vegetables you want to remove.
- Let the drippings sit for a few minutes. The fat will rise to the top, allowing you to separate it later.
Collecting the drippings is crucial, as they impart flavor and richness to your gravy.
Step 2: Separate the Fat
Once the drippings have settled, you’ll notice a layer of fat floating on top. Follow these steps to separate it:
- Use a spoon or a fat separator to remove the fat from the top of the drippings. Aim to keep about 1/4 cup of fat for your gravy.
- If you don’t have enough fat, you can supplement with butter to reach the desired amount.
Separating the fat is important because it will be used to create a roux, which thickens the gravy.
Step 3: Prepare the Roux
The next step is to make a roux, which is the thickening agent for your gravy. Here’s how:
- In a medium saucepan, add the reserved fat over medium heat.
- Once the fat has melted, whisk in an equal amount of flour. For 1/4 cup of fat, use 1/4 cup of flour.
- Cook the roux for about 2-3 minutes, stirring constantly, until it becomes a light golden color. This cooking process helps eliminate the raw flour taste.
Creating a roux is similar to making a paste; it’s the foundation that will give your gravy its texture.
Step 4: Add the Drippings and Broth
Now it’s time to add the drippings and broth to your roux:
- Slowly pour the reserved turkey drippings into the roux while constantly whisking to avoid lumps.
- Add in 2 to 3 cups of broth or stock, depending on how much gravy you want to make. Continue whisking until the mixture is smooth.
- Bring the gravy to a simmer. As it heats, it will begin to thicken.
Whisking continuously helps to incorporate air and achieve a smooth consistency, preventing lumps from forming.
Step 5: Season the Gravy
Once your gravy has thickened, it’s time to season it:
- Taste the gravy and add salt and pepper as needed. Remember, the drippings may already contain seasoning, so be cautious with the salt.
- You can also add herbs for extra flavor. Fresh or dried thyme, sage, or even a splash of Worcestershire sauce can elevate your gravy.
Seasoning is where you can personalize your gravy, ensuring it complements your turkey and sides perfectly.
Step 6: Serve the Gravy
Finally, your turkey gravy is ready to be served! Follow these steps:
- Remove the gravy from heat and let it cool slightly.
- Transfer it to a gravy boat or serving dish.
- Serve warm over turkey, mashed potatoes, or any dish you desire.
Serving the gravy in a separate dish allows your guests to add as much as they like, making it a versatile addition to the meal.
Common Mistakes to Avoid
Even with a step-by-step guide, mistakes can happen. Here are some common pitfalls and how to avoid them:
- Lumpy Gravy: Ensure you whisk the roux and drippings together thoroughly to prevent lumps. Adding the liquid slowly helps as well.
- Too Thin or Thick: If your gravy is too thin, let it simmer longer to reduce. If it’s too thick, whisk in a little more broth until you reach the desired consistency.
- Over-seasoning: Always taste your gravy before adding more salt or spices, especially since the drippings can be seasoned.
By being aware of these common mistakes, you can ensure a successful gravy-making experience.
Storage Tips for Leftover Gravy
If you have leftover turkey gravy, you can store it for later use. Here’s how:
- Allow the gravy to cool completely before storing.
- Transfer it to an airtight container and refrigerate for up to 3 days.
- For longer storage, freeze the gravy in a freezer-safe container for up to 3 months. Thaw in the refrigerator before reheating.
Proper storage ensures you can enjoy your delicious turkey gravy at a later time without losing flavor.
Frequently Asked Questions
Can I make turkey gravy from drippings in advance?
Yes, you can prepare the gravy ahead of time! Just follow the steps and then refrigerate it. Reheat gently before serving.
What if I don’t have enough drippings?
If you have limited drippings, supplement with store-bought broth or stock. This will help maintain the flavor and consistency of your gravy.
Can I use flour alternatives for a gluten-free gravy?
Absolutely! You can use cornstarch or a gluten-free flour blend as a thickening agent. Just remember to adjust the amount accordingly.
Conclusion
Making turkey gravy from drippings is a rewarding process that can elevate your holiday meals. By following this detailed guide, you can create a rich, flavorful gravy that complements your turkey and sides perfectly. Remember, practice makes perfect, so don’t hesitate to experiment with flavors and techniques. Happy cooking!